
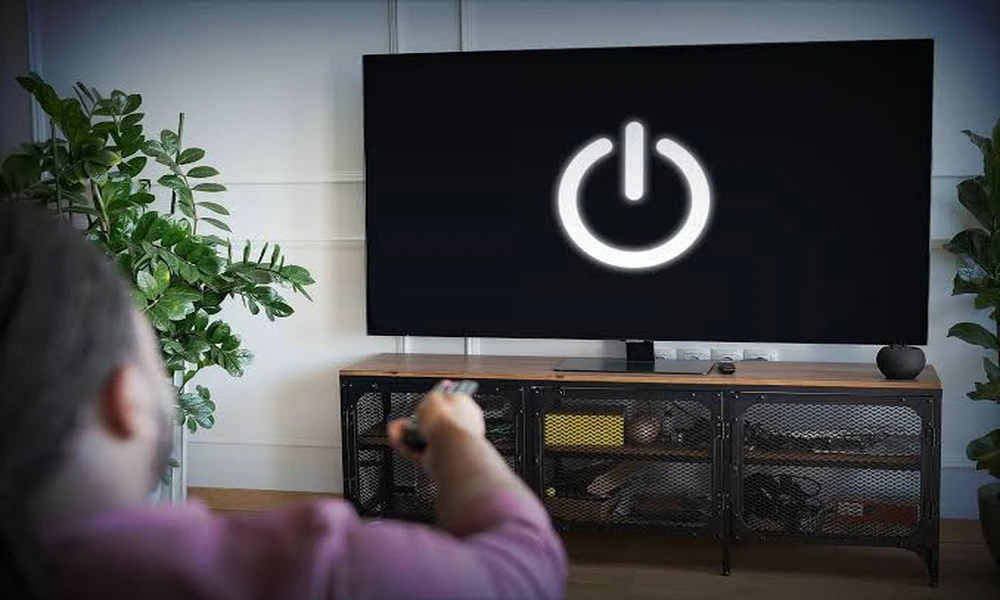
A television that will not start is one of the few faults where the symptom tells you almost nothing on its own. The same blank screen can mean a dead remote battery, a failed backlight, a power supply fault or a software hang. Working through the possibilities in order costs nothing and frequently resolves the problem without a service call.
This guide covers the diagnostic sequence for modern flat-panel sets. It stops at the point where opening the housing becomes necessary, because that is the point where the risk changes.
Blink codes differ by maker as well as by model – the Hisense TV manuals use a different pattern from Philips or Sony, so work from the documentation for the set in front of you.
First: what is the standby light doing?
The indicator is the most useful diagnostic tool on the set, and its behaviour is documented per model. Broadly:
No light at all – the set is receiving no power, or the power supply has failed.
Steady standby light, no response – the set has power but is not starting. Often a software hang.
Blinking in a repeating pattern – a coded fault. The number of blinks maps to a specific failure area.
That blink code is the single most valuable piece of information you can collect, and the mapping differs between model families. Count the blinks, note the pause length, and look the pattern up for your exact model number before doing anything else. Guessing from a generic list found online is how people replace the wrong part.
Second: confirm the set is actually getting power
Try a different wall socket, ideally on a different circuit.
Bypass any extension lead, surge protector or smart plug – these fail more often than televisions do.
Check the cable at both ends, including the connector at the rear of the set, which works loose on wall-mounted units.
If the set uses an external power brick, check whether its own indicator is lit.
Third: the power cycle that actually works
A soft restart rarely clears a genuine hang. The procedure that does:
Unplug the set at the wall.
Hold the physical power button on the set – not the remote – for around 30 seconds. This discharges residual current from the internal capacitors.
Leave it disconnected for several minutes.
Reconnect directly to a wall socket and try the physical button.
This clears a surprising proportion of no-start faults, particularly after a power cut or a firmware update that did not complete.
Fourth: rule out the remote
Obvious, and skipped constantly. Test with the physical buttons on the set first. If those work and the remote does not, the television is fine.
To check whether a remote is transmitting, point it at a phone camera and press a button. Most phone sensors see the infrared LED as a faint flashing light, even though your eye cannot. No flash usually means dead batteries or a failed remote.
Fifth: the backlight test
A set that appears dead but makes a faint click on power-up, or responds to remote button presses with sound, may have a working panel and a failed backlight. The test is simple: in a completely dark room, shine a torch at an angle across the screen while the set is supposedly on. If you can make out a faint menu or image, the panel and mainboard are working and the backlight is not.
That narrows the fault considerably, and it is worth knowing before you get a quote, because it distinguishes a repair from a replacement.
Sixth: input and source confusion
A set that powers on to a black screen with a lit standby indicator may simply be on an inactive input. Cycle through every HDMI input using the physical buttons. Disconnect all sources, power the set on alone, and see whether a no-signal message appears. A message means the display is fine and the problem is upstream – a cable, a box, or a source device.
The same diagnostic order applies to almost any television, and Manual Machine holds the service documentation for most sets still in use.
Where to stop
Everything above is safe to do with the housing closed. Beyond this point you are working near a power supply that stores charge long after disconnection, and voltages inside a television can be dangerous well after it is unplugged.
If the blink code points to the power supply or the backlight driver, that is a job for a qualified technician with the correct service documentation. What you can usefully do is arrive with the model number, the blink pattern, the results of the torch test and a description of exactly what preceded the failure. That information routinely shortens a diagnosis and reduces the bill.
Getting the model number right
Television model numbers are long and the differences matter. The full string is on a label at the rear of the set and usually in the settings menu under support or system information. A set described as a 55-inch Philips from 2019 could be any of several boards with different fault behaviour, so record the whole string including the regional suffix.
Frequently asked questions
Can a firmware update brick a television?
An interrupted update can leave a set unable to start. Some models support a recovery procedure using a USB stick, documented per model family. This is worth checking before assuming a hardware failure, especially if the fault appeared immediately after an update.
Does a blinking light always mean a hardware fault?
No. Some patterns indicate a temporary condition such as overheating or a detected over-current, which can clear after a full power cycle and a cool-down period.
Is it worth repairing?
A backlight or power supply repair on a large panel is frequently economic; a failed panel almost never is. The torch test tells you which conversation you are having.
Safety note: never open a television housing unless you are competent to work on mains equipment. Power supplies retain a charge after disconnection. Disconnect and consult a qualified technician where any internal work is indicated.